Create your first Rivet page
Learn how to use the blank layout to create your first Rivet page
What you'll learn
- How to read layout and component documentation
- How to use the "Edit on CodePen" feature
- How to edit layout markup
- How to copy, paste, and edit component markup
1. Go to the Layouts page #
Go to the layouts page. This page lists all of the layouts that are available in Rivet.
Rivet layouts are prebuilt IU-branded page templates you can use for your marketing websites or web applications. These layouts are designed to help give developers a head start in creating many of the page types commonly used across IU’s web space.
2. Choose the “Blank page” layout #
Scroll down the page to find the blank page layout.
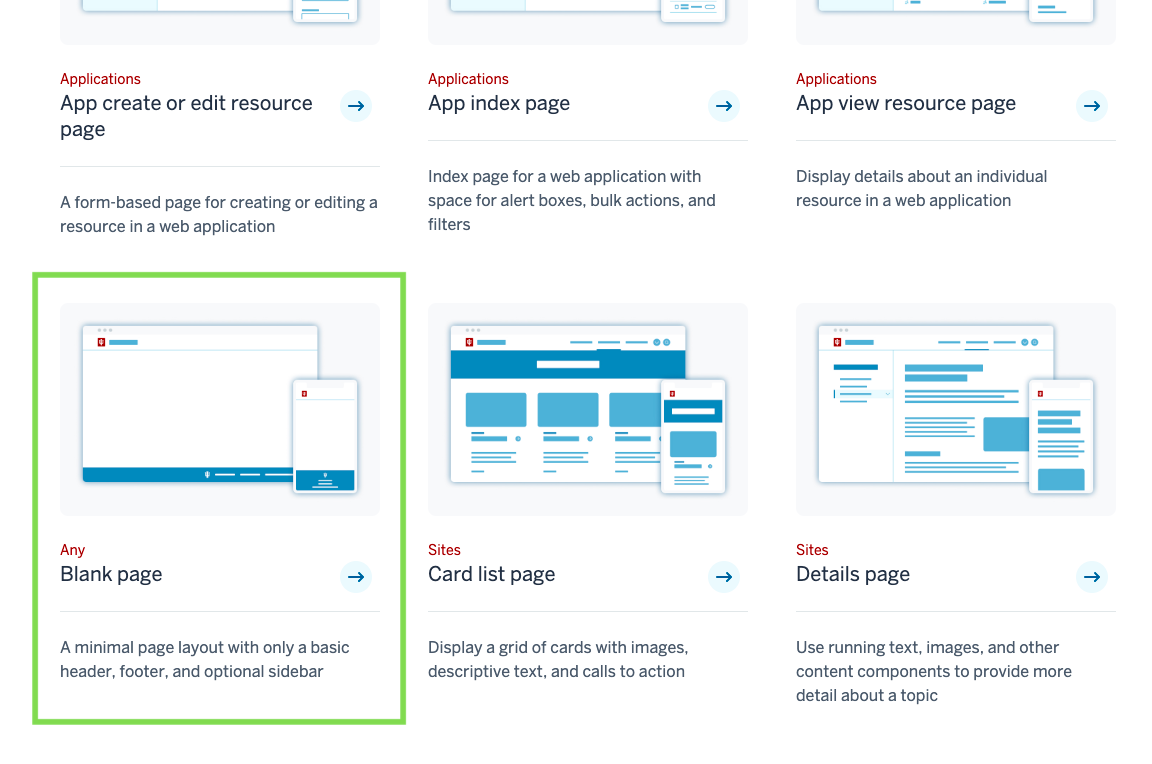
Click to view the layout’s documentation page.
The blank page layout is Rivet’s most basic starter HTML template. It includes just a header, footer, and single-column content area.
In this tutorial, you’ll use the blank layout as the basis for your web page.
Reading layout documentation #
A layout documentation page has the following sections:
- Overview
- A short description of the layout and the use cases it's designed for.
- "Live preview" button
- A button that lets you preview the layout in your browser. If a layout has more than one variant, you can pick which variant you want to preview from the dropdown menu.
- "Download HTML" button
- A button that lets you download the layout's HTML files as a ZIP archive.
- "Edit on CodePen" button
- A button that lets you edit the layout markup in CodePen, an in-browser code editor. If a layout has more than one variant, you can pick which variant you want to edit from the dropdown menu.
- Screenshots
- Screenshots of each variant of the layout. You can click a thumbnail to see a full-size screenshot.
- Features
- A list of features included in the layout.
- Component list
- A list of Rivet components used in the layout. You can click the name of a component to view its documentation.
3. Click “Edit on CodePen” #
Find the button labeled Edit on CodePen and click it. From the dropdown menu, select Marketing/info - single column.
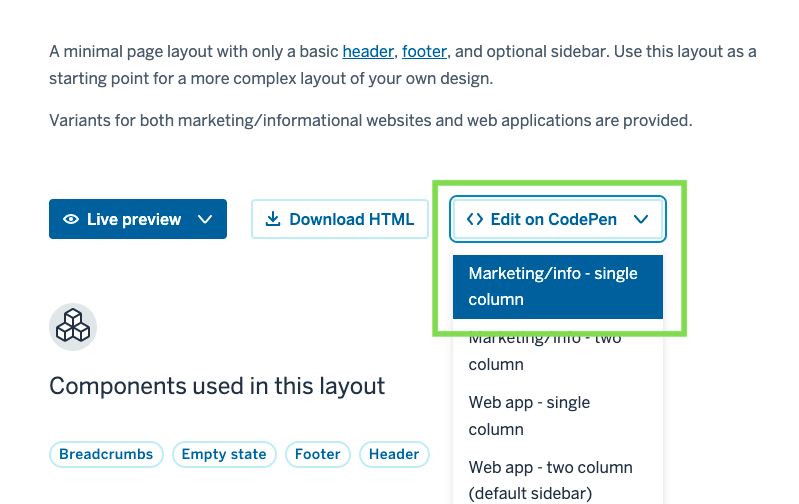
This will open the layout in CodePen, an in-browser editor in which you can write HTML, CSS, and JavaScript.
4. Set up your CodePen workspace #
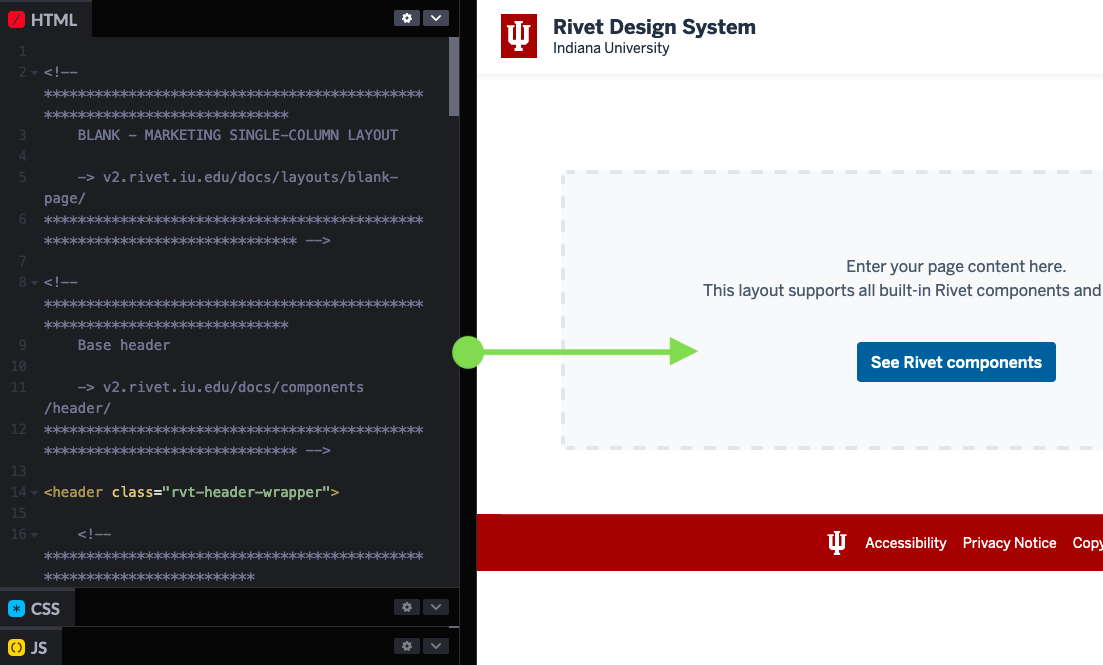
The CodePen editor has three tabs: HTML, CSS, and JS. In this tutorial, you’ll only be using the HTML tab.
First, click the Change View button at the top of the editor and select the left-aligned layout. This will move the code editing tabs to the left side of the screen.
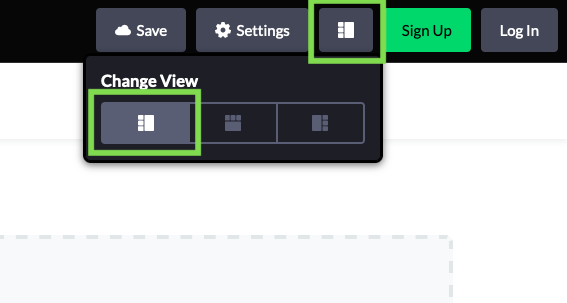
To hide the CSS and JS tabs and make the HTML editor tab larger, click the CSS tab header and drag it down to the bottom of the screen.
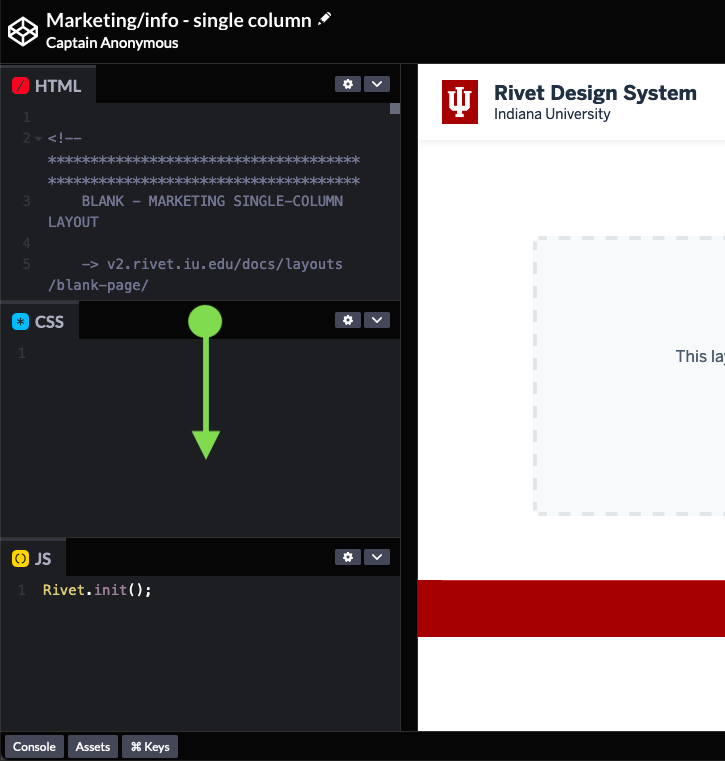
Depending on your screen size, you may also want to make the HTML editor tab wider. You can do so by clicking and dragging the divider between the code editor tabs and preview area.
What’s in a layout? #
A layout is a plain HTML file styled with Rivet CSS.
Before you continue with the tutorial, take a minute to scroll through the layout markup and become more familiar with it. You should see the various sections of the page marked off by code comments.
In the following steps, you’ll edit the layout’s existing HTML and placeholder content. You’ll also paste in new code copied from Rivet component documentation.
5. Set the header title #
The blank page layout’s header has a placeholder title next to the IU trident: Rivet Design System.

Go to line 47 in the HTML. You should see the following code:
<span class="rvt-lockup__title">Rivet Design System</span>Change this placeholder title to the name of your site, application, or unit (or make up a name).
<span class="rvt-lockup__title">My Application Name</span>
6. Set or remove the header subtitle #
The blank layout’s header also has a placeholder subtitle: Indiana University.
This subtitle is on the next line (line 48):
<span class="rvt-lockup__subtitle">Indiana University</span>Change this placeholder subtitle to the name of your campus, school, or office. You can also delete this entire line to remove the subtitle.

7. Adjust the container size #
Rivet page content can be put into containers: HTML elements with a .rvt-container-* class added to them.
Container classes come in different sizes. They are used to set the width of a content area and center it on the page (or inside its parent container). You can learn more about containers on the grid component documentation page.
By default, the blank page layout used in this tutorial wraps page content in a small container. This keeps any text, images, or other content to a readable length and prevents it from running up against the edges of the viewport. This container has a CSS class of .rvt-container-sm. You’ll see this class added to the main element on line 60 or 61 of the index.html file in your code editor:
<main id="main-content" class="rvt-layout__wrapper rvt-layout__wrapper--single rvt-container-sm">You can adjust the width of a content container by changing the container class. In the line of code shown above, change the .rvt-container-sm class to .rvt-container-md:
<main id="main-content" class="rvt-layout__wrapper rvt-layout__wrapper--single rvt-container-md">This will give you a wider content area to better accommodate the billboard component you’ll add in the next steps.
8. Go to the Components page #
Go to the components page. This page lists all of the components that are available in Rivet.
Components are modular elements that can be combined to create digital interfaces. They are HTML snippets styled with Rivet CSS classes. Rivet includes a wide variety of components for both websites and web applications, including buttons, cards, and form inputs.
9. Choose the “Billboard” component #
Scroll or tab down the page to find the billboard component. Click to view the component’s documentation page.
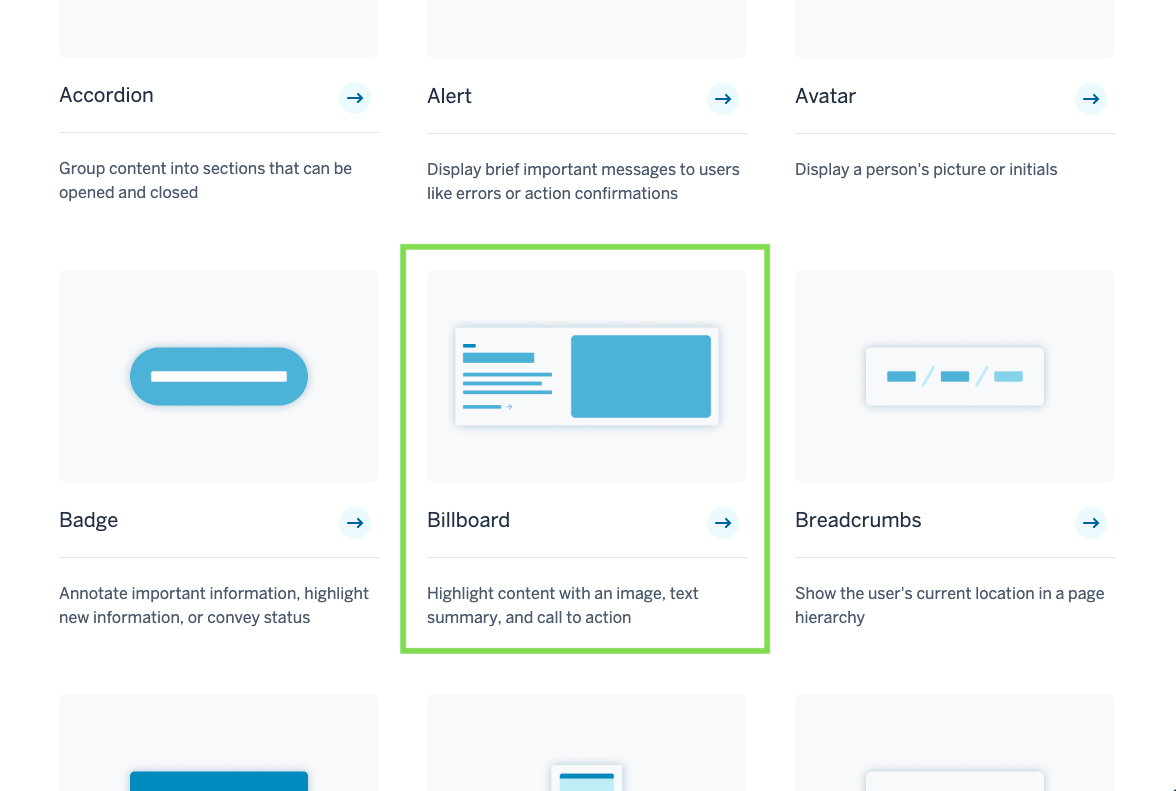
The billboard component can be used on a page to highlight news articles, student or alumni stories, or other important content on your website.
Reading component documentation #
A component documentation page has the following sections:
- Overview
- A short description of the component and the use cases it's designed for.
- Examples
- A dropdown that lets you preview different variants of the component and their associated HTML code. You can use the buttons in this section to open the preview in a new window, edit the code on CodePen, copy the code to your clipboard, or grab a shareable link directly to the example.
- Attributes
- A table of HTML data attributes that can be added to a component's markup to configure its behavior. Not all components have attributes.
- Usage
- Instructions on how to use the component.
- Accessibility
- Guidelines on how to implement the component in an accessible way.
- JavaScript
- A table of JavaScript methods and events provided by the component. Not all components use JavaScript.
10. Copy the component markup #
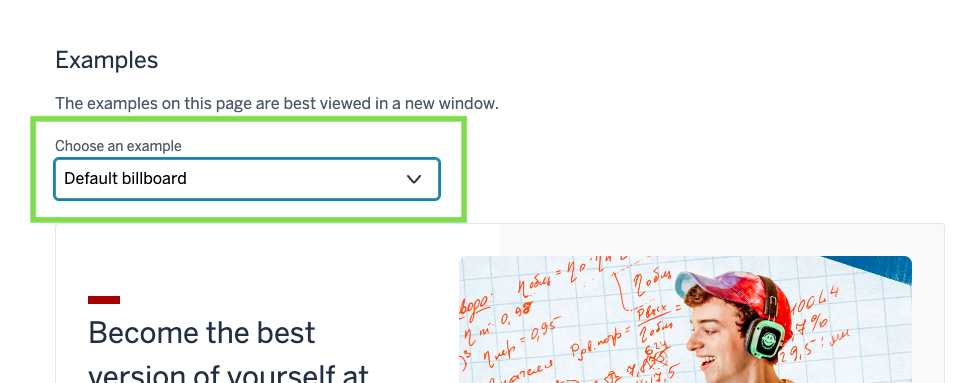
Scroll or tab down to the section of the page titled Examples. This section features a dropdown where you can view different examples of the component along with their HTML code.
Choose Default billboard from the dropdown.
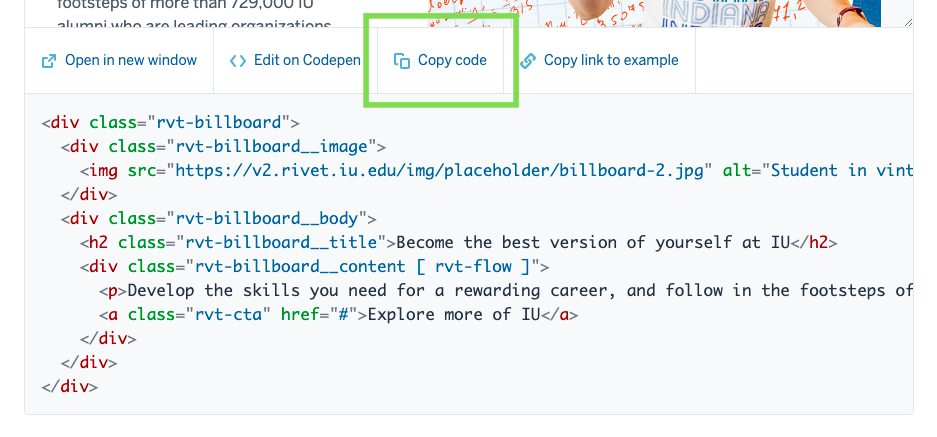
Click the Copy code button underneath the component preview window. Doing so will copy the HTML code snippet to your clipboard.
11. Delete the empty state code from your page HTML #
Go back to the Rivet page in CodePen.
Find the banner in the code that reads Page content:
You’ll see a block of HTML code underneath that starts with <div class="rvt-empty-state">. It runs between lines 67/68 and 74/75:
<div class="rvt-empty-state">
  <div class="rvt-empty-state__content">
    <p>Enter your page content here.<br>This layout supports all built-in Rivet components and utility classes.</p>
  </div>
  <div class="rvt-empty-state__actions">
    <a href="https://rivet.iu.edu/docs/components/" class="rvt-button">See Rivet components</a>
  </div>
</div>
This is the markup for a placeholder empty state component.
Highlight and delete this code.

12. Paste your copied billboard component markup #
Paste the billboard component markup you copied from the documentation page into the spot where the empty state component code previously appeared:
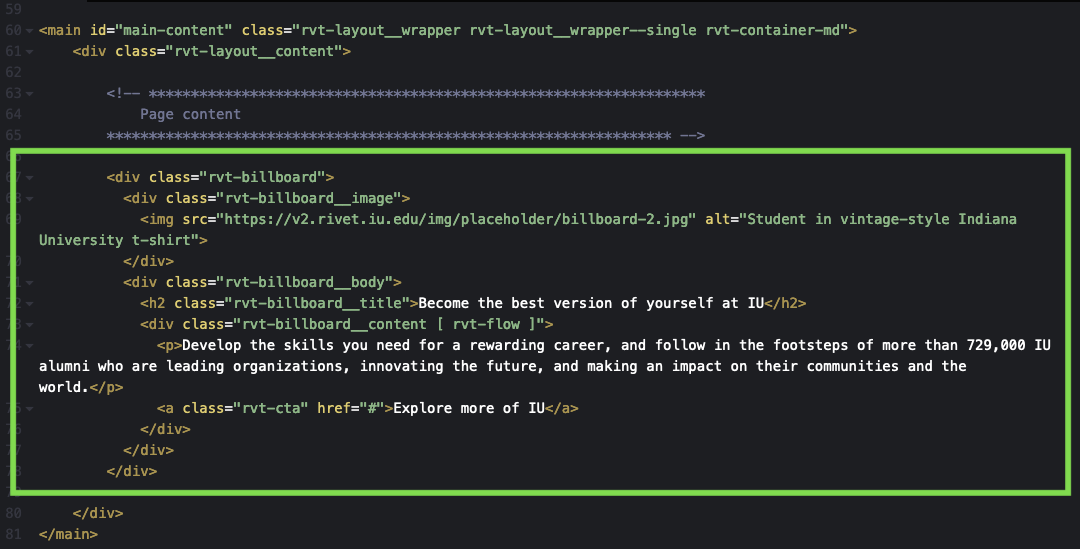
You should see the billboard component appear in place of the empty state placeholder.

13. Edit billboard markup #
Rivet component markup is just regular HTML, so you can edit it the same way you would markup on any other website or web application.
Try editing the billboard title, content, and call to action link text.
Replace the src attribute value of the billboard image with the following URL:
https://rivet.iu.edu/img/tutorials/tutorial-01-billboard.webp

Tutorial complete #
Congratulations—you have just created your first page using Rivet! 🎉
Some things to try next:
- Add more components to your page
- Create a page using one of the other blank page layout variants